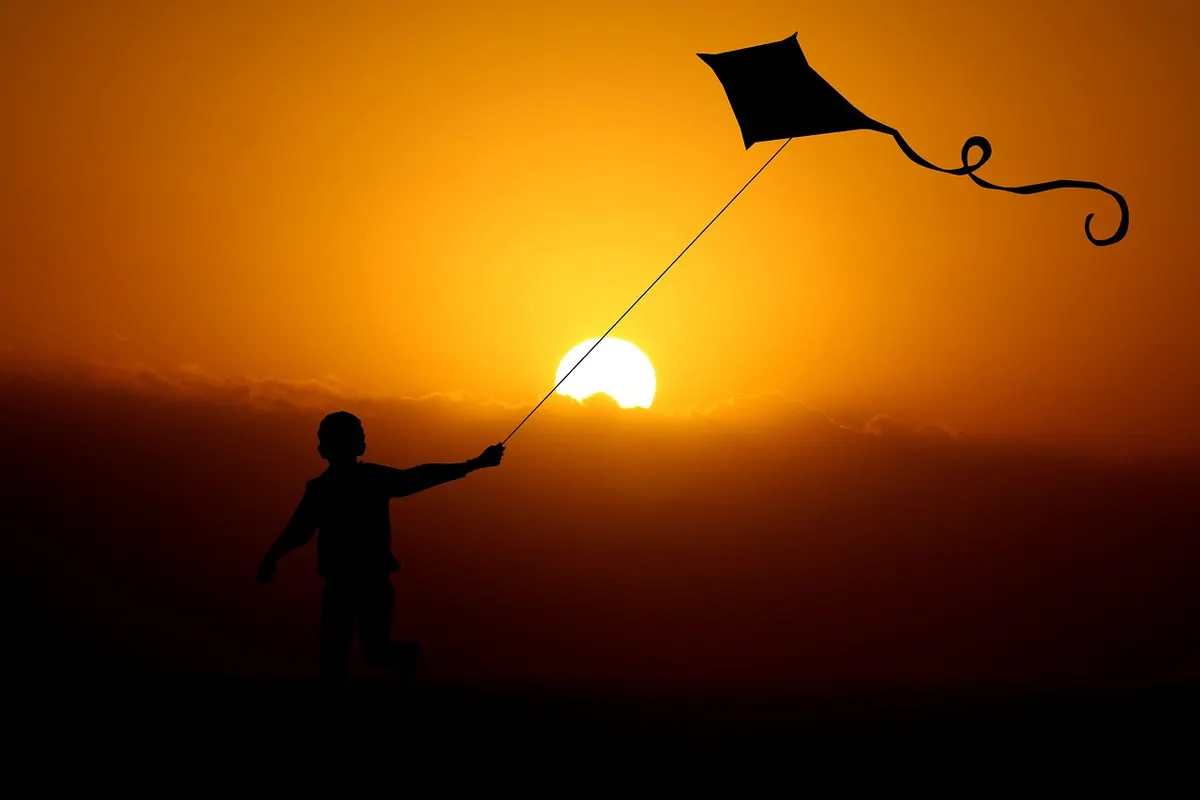
The line is the only thing connecting your kite to the ground, and it is almost always the last thing anyone checks. You can spend an hour fiddling with bridles and still have a rotten session because one line went fuzzy near the sleeving. Lines are cheap compared with kites, they wear in ways that are easy to miss, and they behave very differently depending on what they are made from. Get the material right, match the strength to the kite, and inspect them honestly, and you will fly more and replace less.
Dyneema and polyester: two fibres, two personalities
Nearly all kite line is one of two things. Dyneema — sold as Spectra in some markets and part of the HMPE family — is a high-modulus polyethylene. It is remarkably strong for its diameter and barely stretches. Polyester, often sold as Dacron or as a braided line, is heavier for the same strength and stretches noticeably under load.
That one difference explains almost everything else about how each feels in the air.
Dyneema: precise, thin, and fussy about knots and heat
On a stunt kite or a four-line power kite, minimal stretch means the kite responds the instant your hands move. There is no sponge in the system. Dyneema is also thin, so a given strength adds less weight and less drag — which matters most on long lines.
The trade-offs are real. Dyneema has a comparatively low melting point, so friction is its enemy: a line sawing across another, a fast slide through a knot, or a hard shock load can all cause damage that stays invisible until it fails. Knots are another weak spot. A simple knot can cost a significant share of the line's strength and, on some Dyneema lines, will creep and slip under repeated load. That is why these lines nearly always arrive with sleeved, stitched or spliced ends.
Polyester: the forgiving workhorse
Polyester suits single-line kites, light-wind flying, kite trains, line laundry and anyone learning. It is generally cheaper, it holds knots better, it shrugs off being dragged across grass and sand, and its stretch absorbs gusts so the kite feels softer on the line. For the same breaking strain it is thicker and heavier, so expect more sag and more drag on a long line.
One rule worth keeping: don't mix the two materials within a set. Different stretch rates pull the kite out of shape, and the lines will end up at different lengths.
Matching line strength to your kite
Start with the worst load you are likely to see, then leave a healthy margin. Lines are commonly sold in steps from around 20 kg breaking strain up to 300 kg and beyond, so there is plenty of choice. The variables that matter:
- The kite's own guidance. Manufacturers usually state a recommended line strength. Treat it as a baseline, not a target to beat downwards.
- Kite size and type. A big foil pulls far harder than a small delta of the same design.
- Wind range. Pull rises steeply with wind speed, so pick lines for the strongest wind you might fly in, not the average.
- Number of lines. A four-line kite spreads the load across four lines; a single-line kite puts everything through one.
- Line length. Longer lines sag, stretch and drag more, and they load differently in gusts.
A breaking strain is a figure measured under ideal conditions. Add a knot, a season of sun, a little sand worked into the braid and the real number is lower. That is the reason to leave headroom rather than fly at the limit. Buy lines as a matched set, pre-stretched if the supplier offers it, and keep the set together — swapping one line for another of a different age or batch is how you end up with a kite that pulls to one side.
Signs a line is on its way out
Damage is usually visible well before it becomes dangerous, but you have to look. Run each line through your fingers, or drag a piece of cotton wool along it; loose fibres snag. Hold it up against the light. What you are looking for:
- A fuzzy "beard" of fibres where the line has rubbed against another line or a hard surface.
- Flat spots, kinks or tight curls that do not hang out when the line is slack.
- Discolouration — grey, chalky or bleached patches.
- A stiff, crunchy feel, which often means grit has worked into the braid.
- Sleeving that has started to slip, fray or come unstitched at the end.
- Nicks or cuts you can feel but barely see.
Check the places that take the abuse: the last metre at the kite end, around the sleeving and any knot, and wherever lines cross during turns. It takes a minute after each session.
When to replace, and what to do about it
Retire a line if you can see the core, if the damage is more than light surface fuzz, if it has taken a hard shock load — a heavy crash, a snag, a line run over — or if the sleeving is slipping. If one line in a set has stretched noticeably longer than the others (a few centimetres over 25 m is enough to affect trim), replace the set rather than trying to compensate with the brakes.
On multi-line kites, replace as a set. Lines of the same nominal strength from different batches can behave differently, and a half-new set is a false economy. Carry a spare set for the kite you fly most, and never patch a damaged Dyneema line with a knot in the flying section — the knot will fail long before the line does.
Simple habits that make lines last
Wind lines onto a winder in a figure of eight so they do not kink and coil into themselves, and store them free of knots. Don't drag a powered kite's lines over shells, rock edges or tarmac. Keep them out of sand where you can; if they do get gritty, rinse in fresh water and dry them before
Photo: cocoparisienne / Pixabay